Guides
Studio shed construction: five stages from site to finish
A practical studio shed construction sequence, from site prep and foundation through framing, water control, services, insulation, finish and inspections.
What to take away
- Good studio shed construction follows a sequence that is not negotiable. Each stage covers the one before it, and inspections sit at the seams.
- Water control is designed, not caulked. Layers have to overlap so gravity does the work.
- The framing stage is your last cheap chance to add blocking, conduit and openings.
- Cutting concrete and masonry produces silica dust. Treat that as a real hazard, not a nuisance.
Stage one: site and foundation
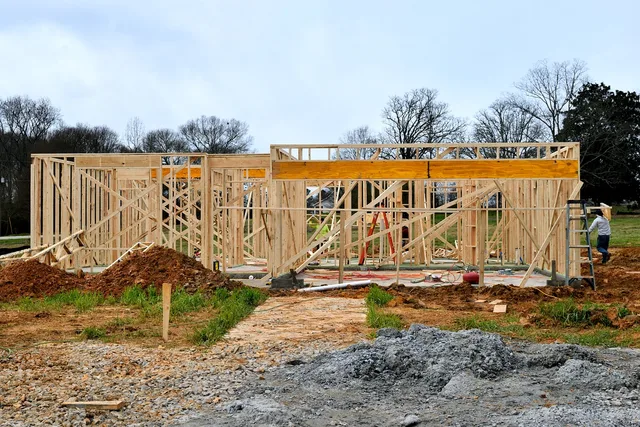
Clear and grade so water runs away from the building, and set out the footprint from the survey, not the fence.
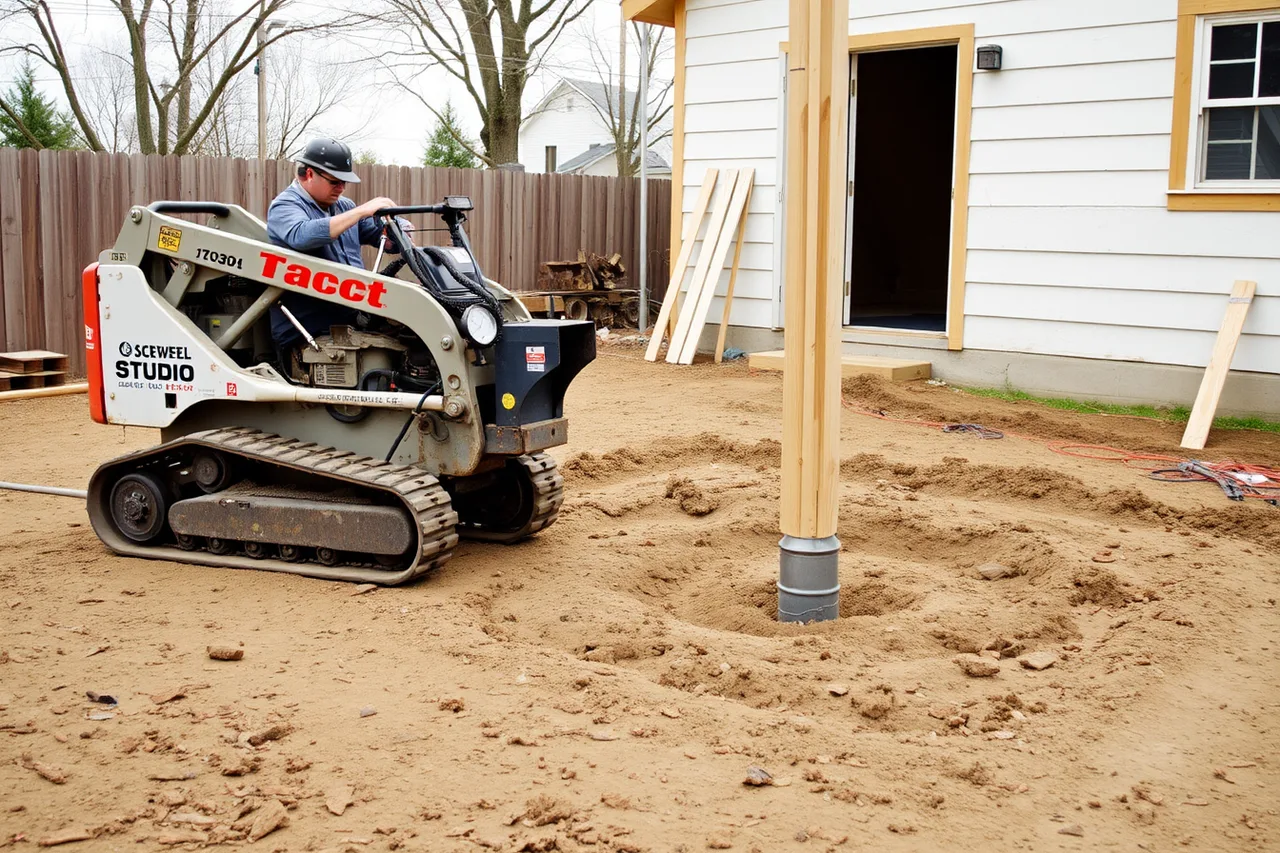
Then build the foundation the design calls for: a slab, pier and beam system, screw piles, or stem wall. Soil, frost depth, slope, and drainage decide that, one of the few decisions worth paying a designer for.
Two details matter regardless of type. There has to be a capillary break so ground moisture cannot wick into the structure, and the top of the foundation has to sit high enough above finished grade that splashing rain does not reach the wall base.
Cutting, drilling or grinding concrete and masonry releases respirable crystalline silica, which is the subject of OSHA's construction silica requirements under its Respirable Crystalline Silica standard for construction. Water suppression or vacuum extraction plus respiratory protection is the answer, and dry cutting in a cloud of dust is not.
Stage two: framing and sheathing
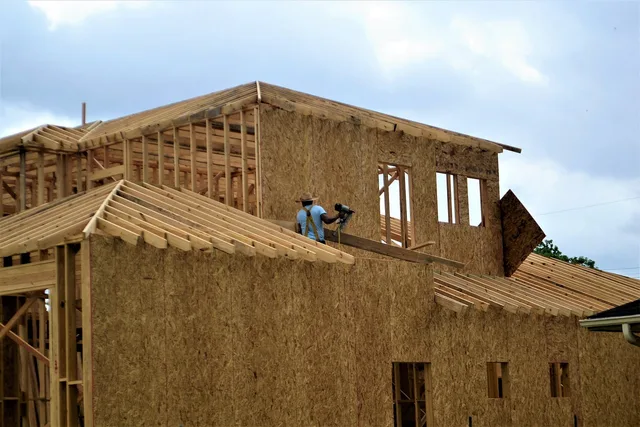
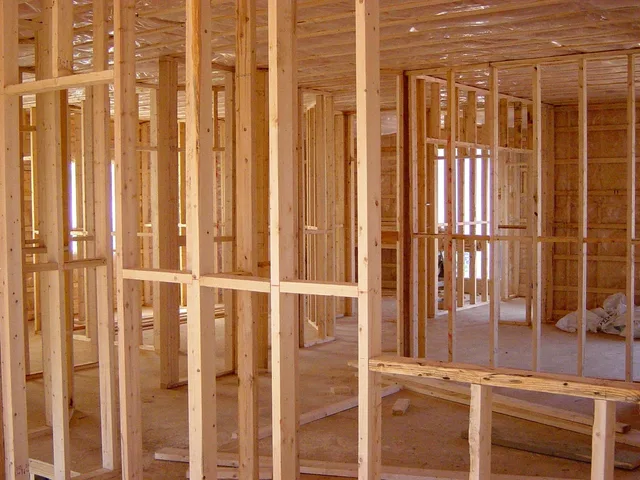
Walls, roof structure, sheathing. This is when the building becomes real and when the most useful additions are cheapest.
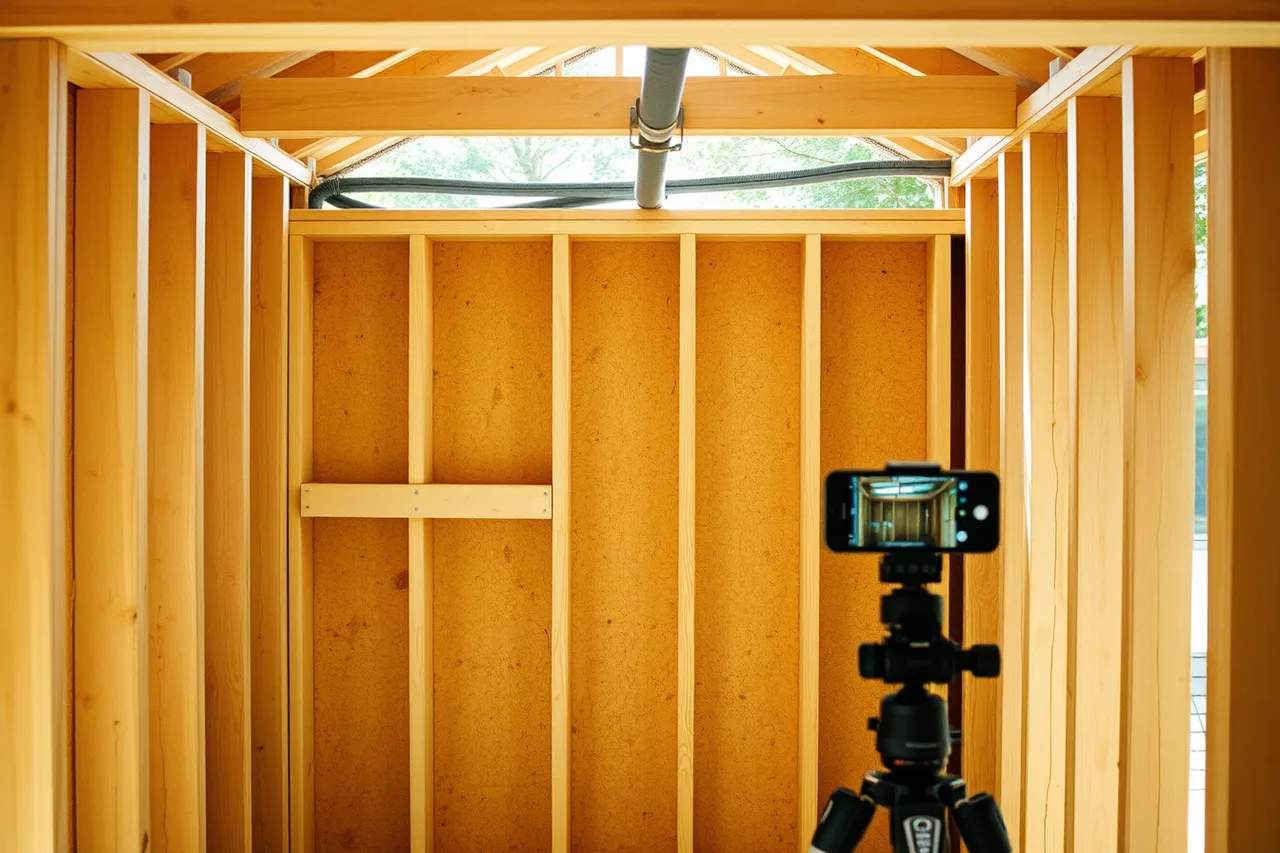
Before anything closes, add:
- Blocking for shelves, cabinets, monitor arms and the heat pump bracket.
- Empty conduit for anything you might add later, including a possible sink route.
- Backing at the door head for a canopy or overhang.
- A clear record of where every stud and cable sits, in photographs.
Every one of those is cheap now and disruptive later, which is why they sit on the checklist for the stage before the walls close.
Stage three: water and air control
This is the stage that decides whether the building lasts. A water resistive barrier goes on the sheathing, flashing goes at every opening and penetration, and the layers overlap so water always runs outward and downward.
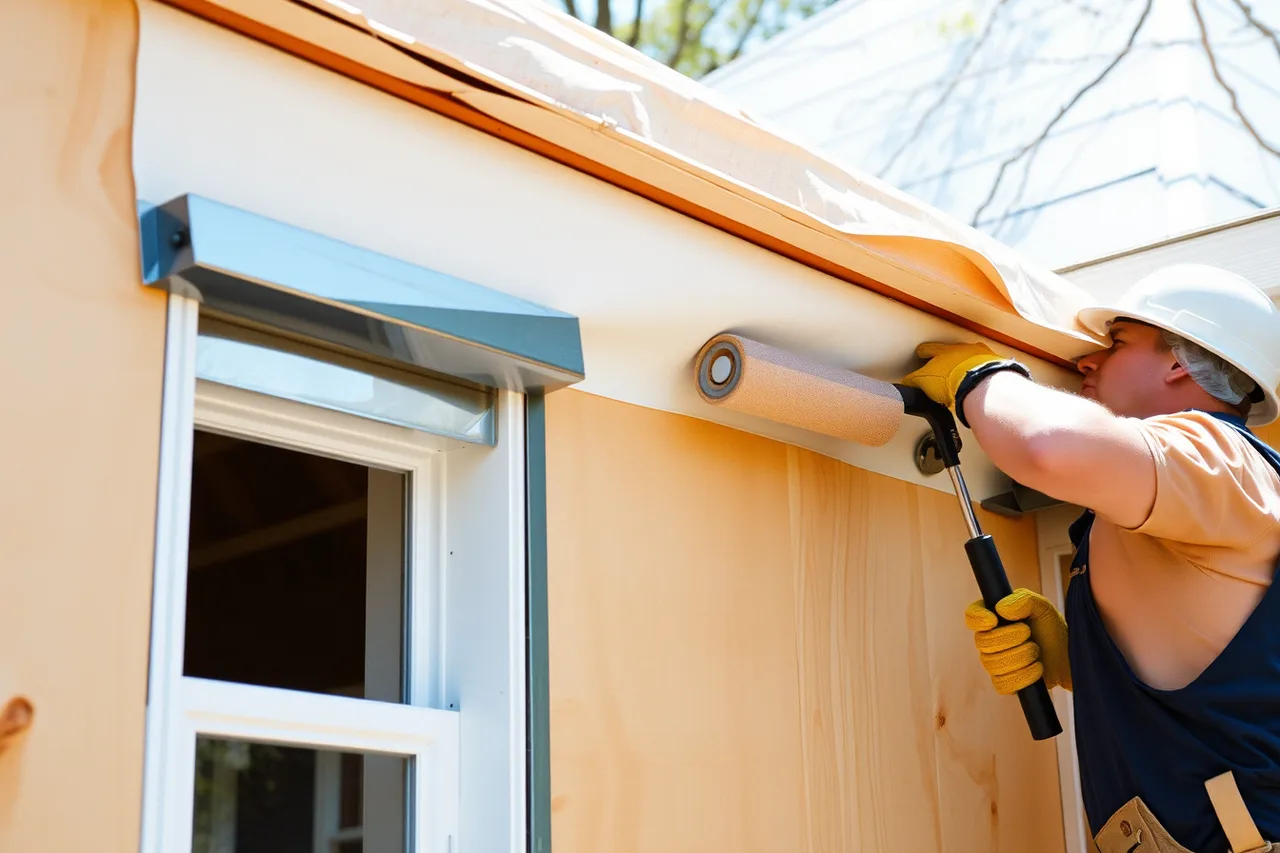
The roof follows the same logic: underlayment, then drip edge, then covering, then flashing at anything that interrupts it. An overhang is not decoration; it keeps water off the wall and the door. Owners who went without one list it among the cheap durability items they wish they had kept.
Air sealing happens here too. Seal the joints between sheathing panels, at the sill, at the top plate and around every penetration. Insulation cannot stop moving air.
Stage four: services
Electrical rough in, data, and the refrigerant and condensate routes for a heat pump. The feeder from the house is licensed work in most places, involving trench depth, conductor sizing, a disconnecting means and a grounding electrode at the studio.
Construction sites have their own electrical hazards, which is why OSHA maintains a whole industry section for construction work covering electrical contact, falls and struck by incidents. On a small job the risk is the same, just less supervised.
Stage five: insulation, finish, commissioning
| Step | Do not skip |
|---|---|
| Insulation | Fill the cavity fully, no gaps or compression |
| Air sealing check | Look for daylight and feel for drafts before covering |
| Interior finish | Only after rough inspections pass |
| Equipment | Size for the finished enclosure, not the drawing |
| Commissioning | Test heating, cooling, ventilation and drainage in real conditions |
Then final inspection, then the path, lighting and yard restoration.
Where inspections sit
Typically after foundation or footings, after framing, after rough electrical, and at completion. Book them early, and never let a trade cover work that has not been signed off. Getting this order right is the difference between the planning stage working out and unravelling, and it applies just as much when the shell is a purchased shed being upgraded.
Ask your local building department—the authority having jurisdiction (AHJ)—whether the studio needs a permit, which code applies, what inspections are required and which permit application to use. Depending on the project and local adoption, residential work may be reviewed under the International Residential Code (IRC), while other projects may fall under the International Building Code (IBC); local amendments apply.
Common questions
How long does the build itself take?
Can I do the framing myself?
What is the most common construction error?
Do I need a slab?
In this guide
- Studio shed construction: five site lessonsStudio shed construction lessons cover inspection timing, trade order, cutting dust, roof risk, and weather planning for a better-managed backyard build.
- Studio shed construction: what a builder's quote should split outA studio shed construction quote should separate labor, materials, plant, waste, trade visits, allowances and milestone draws, so you can compare bids.
- 5 pointers on studio shed construction that hold upTrade by trade questions for a studio shed build, covering framers, electricians and roofers, plus what to ask if you are running the site yourself.
- Three ways to frame a studio shed, and how to choose between themStudio shed construction: stick frame, structural panels, light steel and masonry compared for a backyard studio, with the foundation options that suit each.
- Studio shed construction: the inspection gate checklistA studio shed construction checklist built around the named inspection gates, with what to verify and photograph before each stage is covered.