Backyard Studio Lab
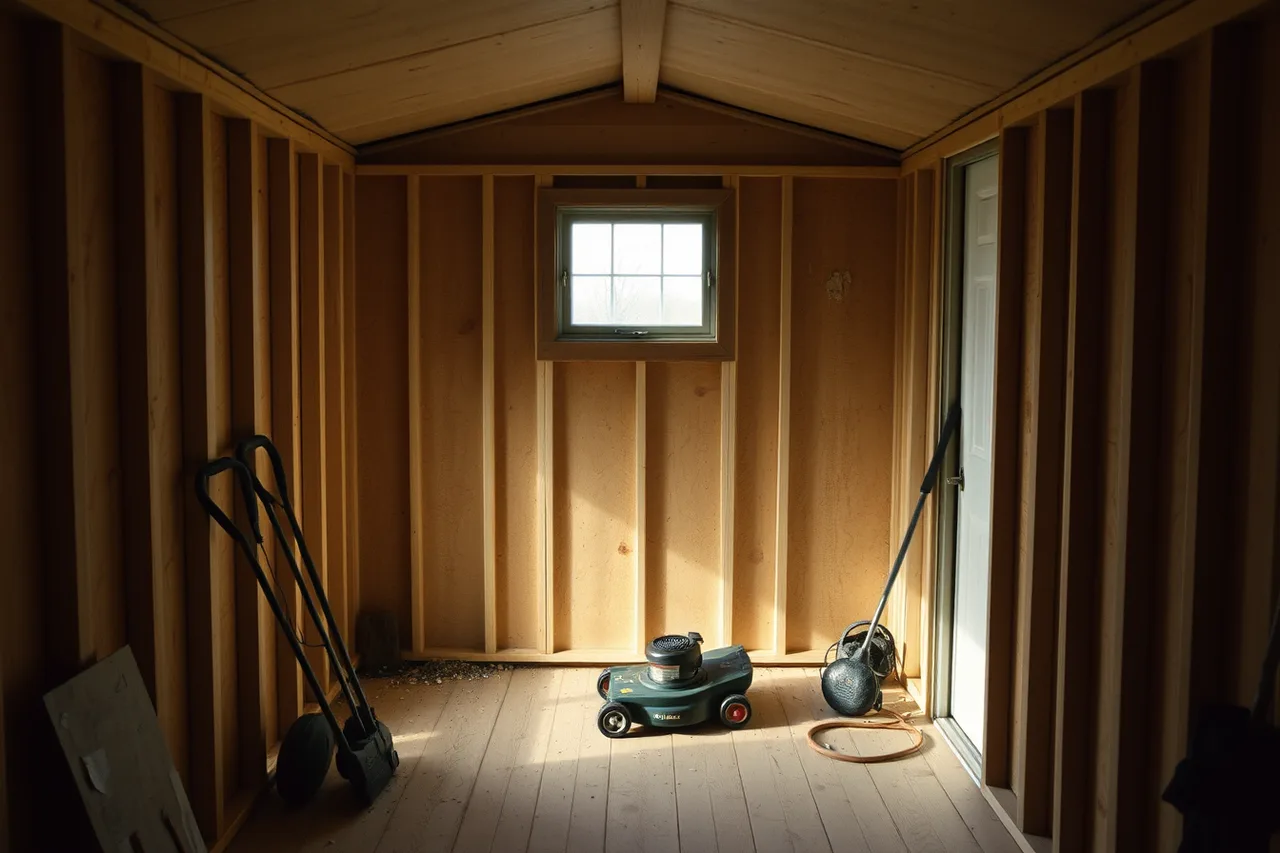
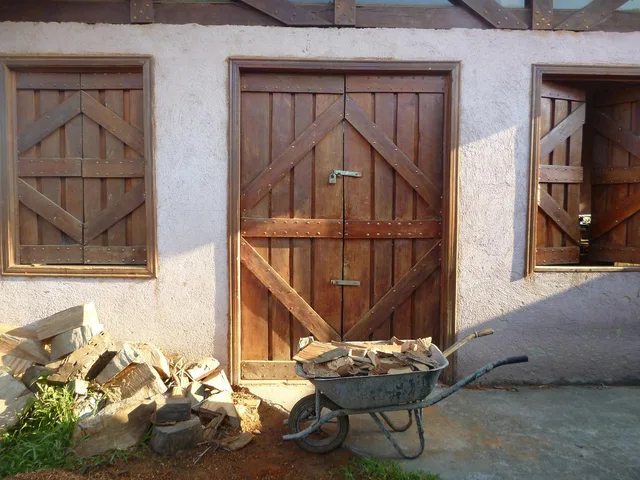
garden shed, old, garden, nature, romantic, cottage, woodhouse, garden shed, garden shed, garden shed, garden shed, garden shed, cottage, cottage
Photo by matthiasboeckel on Pixabay

Guides

A realistic plan for studio sheds in 2027

A step-by-step method for planning a studio shed from legal use and site feasibility through design, budget, construction, and handover.

This studio sheds planning guide starts before model selection. The first decisions are what the building will legally and practically do, whether the property can support it, and who is responsible for the work around the shell. The process below is designed for U.S. homeowners planning a 2027 project.

Step 1: Write the operating brief

Describe actual use rather than calling the building a studio. State whether it is an office, art space, music room, exercise area, workshop, seasonal retreat, guest room, or dwelling. List people, hours, customers, sleeping, cooking, plumbing, equipment, materials, sound, ventilation, heating, cooling, internet, storage, and accessibility needs.

Rank essential, useful, and optional functions. Define what the studio will not do. A clear exclusion, such as no overnight use or no plumbing, can prevent later scope drift, but it must reflect how the building will truly be used.

Step 2: Create a property base map

Gather a current survey if available and verify whether it is suitable for the decisions ahead. Show property boundaries, house, existing structures, easements, rights-of-way, trees, fences, slopes, drainage, utilities, septic or sewer features, wells, gates, overhead lines, and street access.

Photograph the route from the street to the proposed location. Record gate widths, turns, ground conditions, branches, wires, neighboring property, and potential equipment setup. A kit, panel, concrete truck, or module may need very different access.

Step 3: Ask the authorities early

Contact planning and building officials with the address, true use, proposed size, height, utilities, and construction type. Ask about zoning, setbacks, lot coverage, design review, permits, foundation, structural design, energy, electrical, mechanical, plumbing, fire access, floodplain, drainage, protected trees, and inspections.

Check property-association, deed, historic, lender, and insurer requirements separately. Obtain important answers in writing. A small accessory-building exemption does not automatically approve the use or utility work.

Step 4: Screen site hazards

Use FEMA's Flood Map Service Center as an official starting point for flood-hazard information and confirm local requirements. Investigate site-specific grades, runoff, soil, frost, wind, snow, seismic, wildfire, termite, coastal, and tree conditions as applicable.

Call 811 before digging and follow the state process. Coordinate private utility locating where public marking does not cover owner-installed services. Do not treat a map line as exact field location.

Step 5: Compare locations on the property

Develop at least two plausible placements. Compare:

  • approval risk and setbacks;
  • grading and drainage;
  • tree and root effects;
  • utility distance and trench route;
  • construction and delivery access;
  • daylight, glare, heat, and wind;
  • privacy and views from both properties;
  • sound paths;
  • walking route and weather exposure; and
  • effect on existing yard use.

Score tradeoffs before drawing the building. Moving a studio a few feet can change foundation, utility, privacy, and approval consequences.

Step 6: Choose the delivery model

Request complete scope descriptions for site-built, design-build, kit, panelized, and volumetric options. Identify who provides survey, design, engineering, permits, foundation, drainage, utilities, transport, crane, assembly, enclosure, systems, finishes, path, restoration, inspection, and warranty.

Do not compare a shell package with a completed room on headline price. Build a responsibility matrix and total-project forecast for each path.

Step 7: Develop the interior plan

Measure furniture, equipment, storage, and people in use. Draw doors, windows, work surfaces, chairs, cabinets, tools, exercise equipment, and clear routes. Include every open or operating position.

Place frequent tasks near appropriate light, power, ventilation, and storage. Keep service equipment and panels accessible. Mock up the plan at full scale before fixing the exterior openings.

Step 8: Coordinate form and orientation

Choose building dimensions, roof, door, and windows in response to the interior and site. Study sun at relevant seasons, glare on screens, shading, view, privacy, roof drainage, snow or debris, and neighboring windows.

More glass is not automatically better. It can reduce storage wall, increase heat gain or loss, create glare, and raise cost. Use windows where they improve the actual room.

Step 9: Design the foundation and drainage

Use site, structure, climate, loads, and local requirements to select a foundation. Coordinate elevation, frost, soil, anchorage, termites, ground moisture, insulation, utilities, steps or ramps, and inspection.

Show a complete water path from roof to safe discharge. Coordinate grading and landscaping so later work does not bury clearances or direct water toward the building.

Step 10: Design the enclosure as a whole

The roof, walls, floor, windows, and doors need connected water, air, thermal, and vapor-control layers. Select climate-appropriate assemblies and show transitions at corners, base, roof, openings, and penetrations.

Insulation value is only one property. Installation quality, air leakage, moisture, framing, windows, shading, and thermal bridges influence performance. Avoid mixing isolated manufacturer details without design coordination.

Step 11: Coordinate power and data

Create an equipment schedule with voltage, power, location, and simultaneous use. Include lighting, computers, tools, printers, heating, cooling, ventilation, security, and future loads.

Have qualified parties evaluate service capacity, circuits, trench or overhead route where allowed, disconnects, protection, grounding, permits, and inspection. Do not rely on routine extension-cord use from the house.

For data, compare buried or otherwise approved cable routes, point-to-point wireless, mesh, or other solutions based on property conditions. Address security, surge or lightning considerations, weather, and maintenance with appropriate providers.

Step 12: Plan heating, cooling, and ventilation

Calculate loads for the actual enclosure, glazing, climate, occupancy, and equipment. A small room can overheat from sun, people, and computers. Select controls that maintain comfort without short cycling or excessive noise.

Provide required outdoor air and task-specific exhaust. Art materials, finishing, dust-producing tools, kilns, or exercise may require controls beyond ordinary office use. Do not recirculate or filter when source capture and safe exhaust are required.

Step 13: Address sound and vibration

Set goals for speech privacy, calls, music, recording, tools, and neighbors. Identify source, receiver, path, weak openings, penetrations, and mechanical noise.

Sound absorption inside improves room acoustics but does not automatically isolate sound. High performance may need added mass, decoupling, airtightness, special doors or windows, isolated equipment, and carefully designed ventilation.

Step 14: Plan materials and maintenance

Select roofing, siding, trim, openings, interior finishes, floors, and cabinetry for climate, exposure, use, cleaning, repair, and local requirements. Record exact products and installation conditions.

Design safe access for roof and wall inspection, filter changes, condensate, electrical equipment, vegetation management, and finish maintenance. A low-maintenance claim should be translated into specific tasks and intervals.

Step 15: Build the budget in systems

Price feasibility, survey, design, consultants, permits, site preparation, foundation, structure, enclosure, utilities, conditioning, ventilation, interiors, transport, equipment, path, restoration, tax, temporary protection, commissioning, and contingency.

Record allowances and assumptions. Use minimum, target, and optional scopes so essential legal, structural, moisture, and comfort work is not traded away for finishes.

Step 16: Build the schedule from dependencies

Map decisions and approvals before construction dates. Long-lead windows or equipment can affect framing. Utility approval can affect trenching. Factory production may depend on final selections and deposit.

Include authority review, weather, inspections, access, deliveries, and corrective work. A published assembly time is not the total project duration.

Step 17: Procure a qualified team

Determine whether the project needs an architect, engineer, energy specialist, contractor, electrician, HVAC contractor, plumber, surveyor, geotechnical input, arborist, or other expertise. Verify required credentials with official sources and confirm insurance.

Issue the same documents to bidders. Compare scope, products, allowances, exclusions, responsibility, schedule, payment, and warranty. Contact recent clients with comparable project types and jurisdictions.

Step 18: Control construction information

Maintain current drawings, specifications, product schedule, decision log, change log, budget, schedule, permits, inspections, photographs, and meeting notes. Before covering work, verify rough dimensions and photograph utilities, blocking, water-control details, and insulation.

Written changes should identify reason, scope, price, schedule effect, and approval. Do not let an urgent delivery substitute become an unrecorded redesign.

Step 19: Commission the completed studio

Test drainage after appropriate conditions, doors, windows, locks, lights, controls, receptacles and electrical systems through responsible parties, heating, cooling, ventilation, internet, equipment, alarms, and intended furniture.

Confirm inspections and final approvals. Resolve punch work. Collect final drawings, permits, equipment records, manuals, warranties, finishes, spare materials, utility routes, settings, and maintenance schedule.

Step 20: Review performance through seasons

Observe comfort, condensation, leaks, drainage, glare, sound, utility use, odors, equipment noise, pests, settlement, finishes, and landscape effects. Document storms and unusual conditions rather than making broad claims from one week.

Reverify legal and insurance consequences before changing use. A permitted office should not quietly become sleeping or rental space without appropriate review.

Keep a go or no-go gate

Before ordering the structure, require written answers for intended use, feasible location, approval path, foundation concept, utility route, delivery access, total-scope budget, and responsible team. Mark any remaining assumption with an owner, investigation, deadline, and consequence.

If a critical condition remains unresolved, pause procurement. A refundable design or feasibility expense is usually easier to manage than a nonreturnable building package that cannot be placed, connected, or approved. Record the final go decision and the evidence used so later participants understand why the project proceeded.

In this guide

  1. How to vet a contractor for studio sheds in 2027Questions for screening contractors on site feasibility, permits, structure, enclosure, utilities, logistics, scope, and closeout.
  2. Which studio sheds upgrades add everyday valueA comparison of studio-shed upgrades based on moisture, comfort, light, power, access, maintenance, and actual use.
  3. A maintenance plan for studio sheds after year oneA year-one and ongoing inspection plan for drainage, enclosure, foundation, utilities, conditioning, finishes, and records.
  4. How climate changes the choices for studio shedsHow heat, humidity, cold, snow, wind, wildfire, flood, termites, and solar exposure affect studio-shed planning.
  5. Studio sheds products worth testing in 2027A transparent field-test plan for windows, doors, mini-split controls, ventilation, shading, flooring, and data equipment.

More in Guides