Guides
Part of Batt, foam or board: comparing studio insulation systems on upkeep
Studio insulation systems: a homeowner's work checklist
Use this studio insulation systems checklist to coordinate the crew, check cavities before they are covered, manage cleanup, and document the finished work.
What to take away
This studio insulation systems checklist identifies common insulation types and the installation checks that matter before work is covered. It does not select an assembly or supply code-required R-values. Have the installer document the specified material, its R-value and installed depth for each assembly, and confirm required performance with the local building department.
Common studio insulation systems
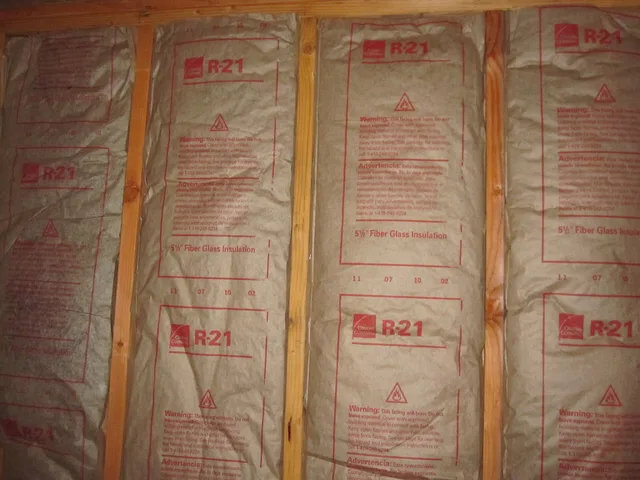
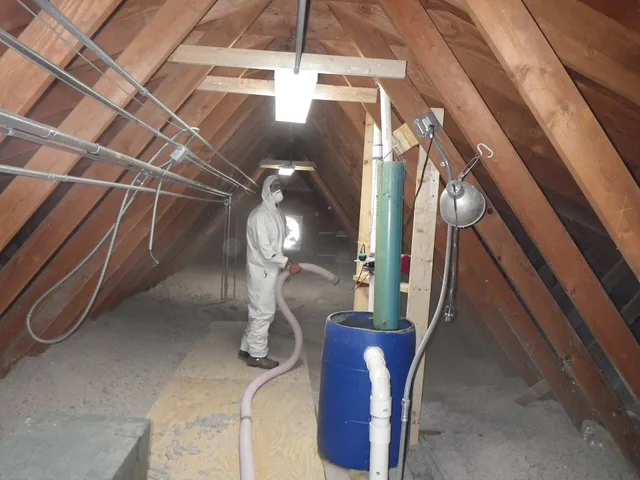
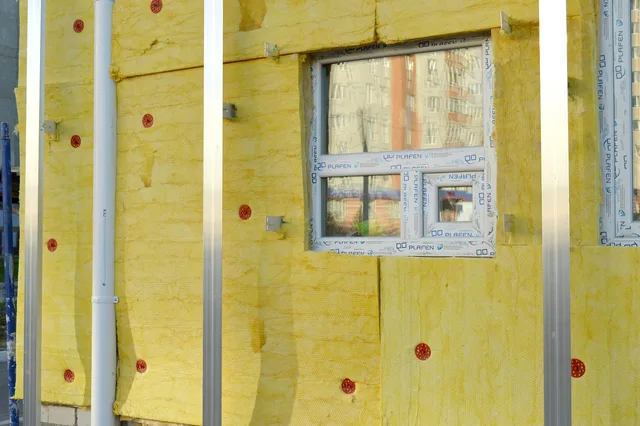
Common systems include fiberglass batts, mineral wool batts, blown-in cellulose, open-cell spray polyurethane foam, closed-cell spray polyurethane foam, and rigid foam board. They are not interchangeable: identify which system is specified for each wall, roof or sloped ceiling, and floor, and how its edges, seams, and penetrations will be air-sealed.
Before work, record the product name and location from the scope and product data sheets, along with the specified R-value and installed depth. Ask the installer to identify the air barrier and any vapor retarder in each assembly. Those details depend on the assembly and locally adopted code, so confirm them for the project rather than assuming one detail applies everywhere.
- Fix water and finish rough services before any insulation arrives on site.
- Photograph every cavity before it is covered. This is the last cheap moment.
- Agree cleanup and residue removal in writing, not as an assumption.
- Confirm the re-occupancy period for any sprayed product before the crew starts.
Before the crew arrives
- An assembly schedule identifies the walls, roof or sloped ceiling, floor, doors and windows, and the boundary of the conditioned space.
- The specified insulation system, R-value and installed depth are documented for each assembly.
- Water sources found and corrected, and the structure verified dry.
- Rough electrical, data and any refrigerant lines complete and inspected.
- Hot work such as brazing finished before insulation goes in.
- Blocking installed for shelves, cabinets and equipment.
- Air barrier and any vapor retarder details identified for each assembly.
- Product data sheets received and read.
- Written scope confirming product, depth, coverage and the air sealing locations.
- Protection agreed for the house, paving, planting and any stored belongings.
- Permit requirements and inspection hold points confirmed with the local building department; ask which locally adopted code edition and paperwork apply, and keep the permit card and record required signoffs before covering work.
Hot work is on that list because brazing near finished foam has come close to a fire on real jobs.
Pre-Installation Readiness Checklist
- Water sources found and corrected
- Rough electrical, data, refrigerant complete
- Hot work finished before insulation
- Blocking installed for shelves and equipment
- Product data sheets received and read
- Written scope confirms product and coverage
- Protection agreed for house and belongings
During the work
- Air sealing done at the sill, top plate, penetrations and openings, in the sequence specified for the system.
- Cavities filled to the specified coverage and depth, with no voids; batts are not compressed, and blown or sprayed insulation is installed as specified.
- Wiring split around rather than squashed behind insulation.
- Junctions at wall to roof and wall to floor detailed rather than stuffed.
- Insulation and air sealing checked at door and window frames without obstructing operation or drainage.
- Ventilation running as specified, and the area kept clear of people who do not need to be there.
- Nothing covered until you have seen it.
Which system belongs at the roof, the wall and the floor is worth settling before the crew arrives, not while they are unloading.
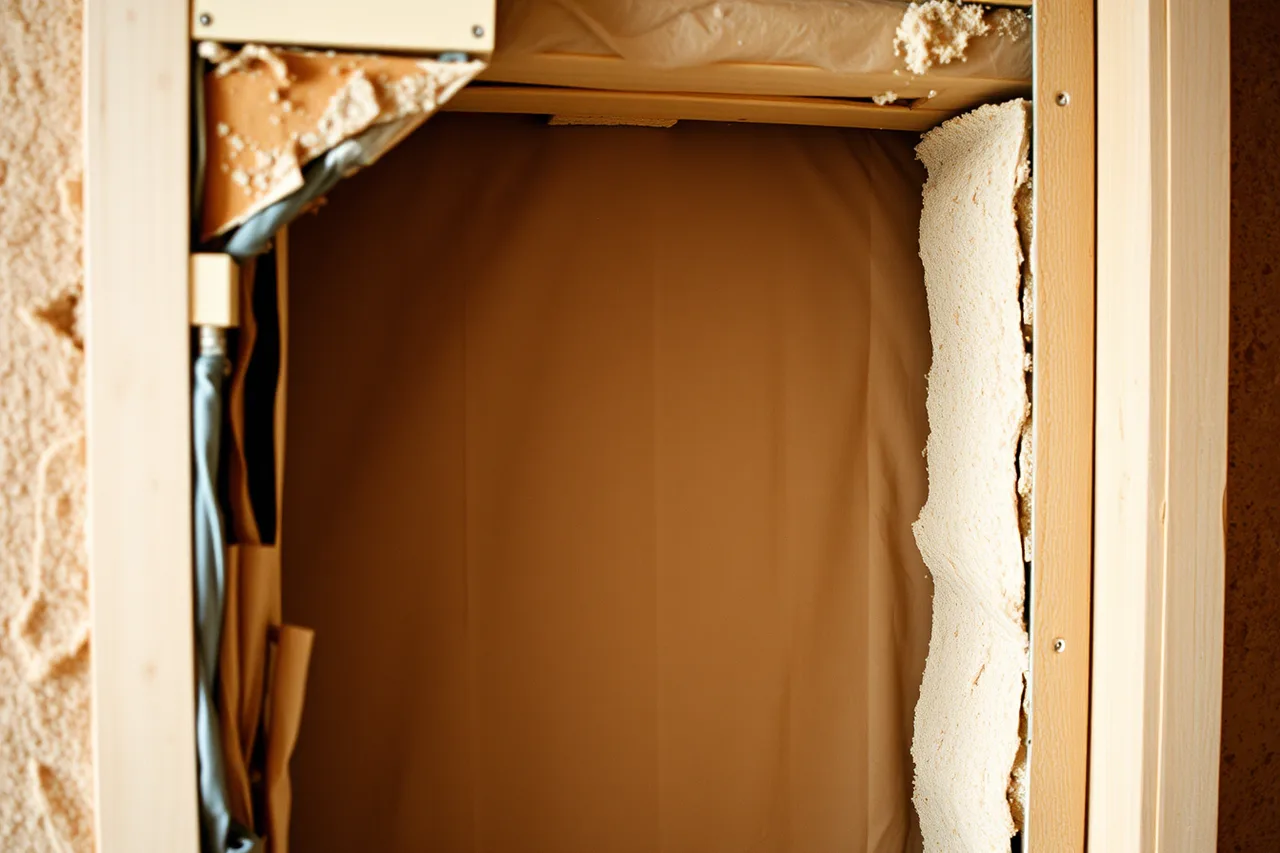
Cleanup is part of the job
Insulation work leaves residue: fibers, dust, offcuts and overspray. Agree in advance who cleans what, and to what standard, including any surfaces in the house that could be affected by dust tracked indoors.
OSHA's surface contamination overview describes a general exposure route; it is not a product-specific cleanup standard. Before work, agree in writing who removes offcuts and overspray and cleans the studio and any dust tracked into the house. Have the installer identify the product-data-sheet instructions for vacuuming, wiping, waste handling and work-clothes handling; do not assume one generic method applies to every material.
Keep people and pets out of the work area while installation is under way, and close the doors and windows of the main house if the studio sits close to it. Dust and overspray travel further than most owners expect on a windy day.
Before anything is covered
| Check | How |
|---|---|
| Full coverage | Look along the plane of the wall for gaps and shadows |
| No compression | Insulation should touch every side without being squashed |
| Air sealing complete | Look for daylight, feel for drafts on a windy day |
| Junctions detailed | Wall to roof and wall to floor, specifically |
| Building inspection passed | Where required, before drywall or cladding |
| Photographs taken | Every bay, with a tape measure in frame |
For walls, the roof or sloped ceiling, and the floor, check the applicable coverage and air-sealing details before each assembly is closed. Photograph the work, and do not allow drywall or interior cladding to cover it until any required inspection signoff is recorded. Check the insulation and air-seal transitions at doors and windows without blocking their operation or drainage.
After the work
- Observe any stated re-occupancy period, especially for sprayed products.
- Ventilate thoroughly, and keep ventilating for the first weeks.
- Note any odor, irritation or headache and raise it with the installer immediately.
- File the data sheets, warranty, photographs and the written scope together.
- Recheck the room through a full heating and a full cooling season.
OSHA's compliance assistance specialists serve employers, not homeowners. Ask the installer to put the product-specific safety and cleanup instructions, re-entry conditions, and each party's cleanup responsibilities in the written scope.
Run this list beside the construction checklist so the insulation gate lines up with the rest of the build, and use the system comparison when deciding what to specify.