Guides
Part of Studio shed construction: five stages from site to finish
Studio shed construction: the inspection gate checklist
A studio shed construction checklist built around the named inspection gates, with what to verify and photograph before each stage is covered.
What to take away
- Organize the checklist around inspection gates. Everything must be verified before it is covered.
- Studio shed construction inspections are requested by namefooting, framing, rough electrical, rough plumbing and mechanical, insulation and final.
- Photograph every layer, with a tape measure in frame, before it disappears.
- Temporary power on a site is a real hazard, not a detail.
- Keep basic first aid on site from day one, not from the day someone needs it.
Before work starts
- Permit issued by your city or county building department, posted on site, with the approved drawings. The studio is reviewed and inspected under the International Residential Code (IRC) edition your jurisdiction has adopted, plus any local amendments.
- Permit and inspection fees come from the building department's published fee schedule, usually set from the studio's square footage or declared valuation. Ask for it when you apply.
- Utility locate completed and marks still visible. In the US that locate is arranged through 811, the free "Call Before You Dig" service, and it needs a few working days' notice.
- Access route agreed, and protection in place for driveway, paving and irrigation.
- Materials storage location agreed, off the ground and covered.
- Site rules written downworking hours, parking, cleanup, and who controls the site on which days.
- Waste plan agreed, including a dumpster location and who fills it.
The inspections you request, by name
Most building departments expect the permit holder to call for each inspection as the work reaches that stage, and each has a name you should use:
- Footing or foundation inspection, before any concrete is placed.
- Slab inspection, where the studio sits on a slab, before the pour.
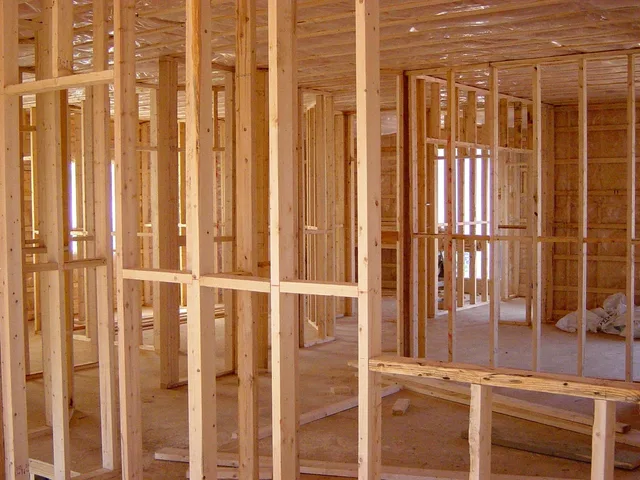
- Framing inspection, sometimes called a sheathing inspection, once the shell is up and before insulation.
- Rough electrical, rough plumbing and rough mechanical inspections, before any of it is covered.
- Insulation or energy inspection, after insulation and air sealing and before the walls are closed.
- Final inspection, when the work is complete.
Ask your inspector which of these apply to a studio of your size, and how much notice each one needs.
Temporary power and first aid
Site power is usually improvised, and that is where trouble starts: cords across walkways, damaged insulation, no ground fault protection, connections left in wet grass.
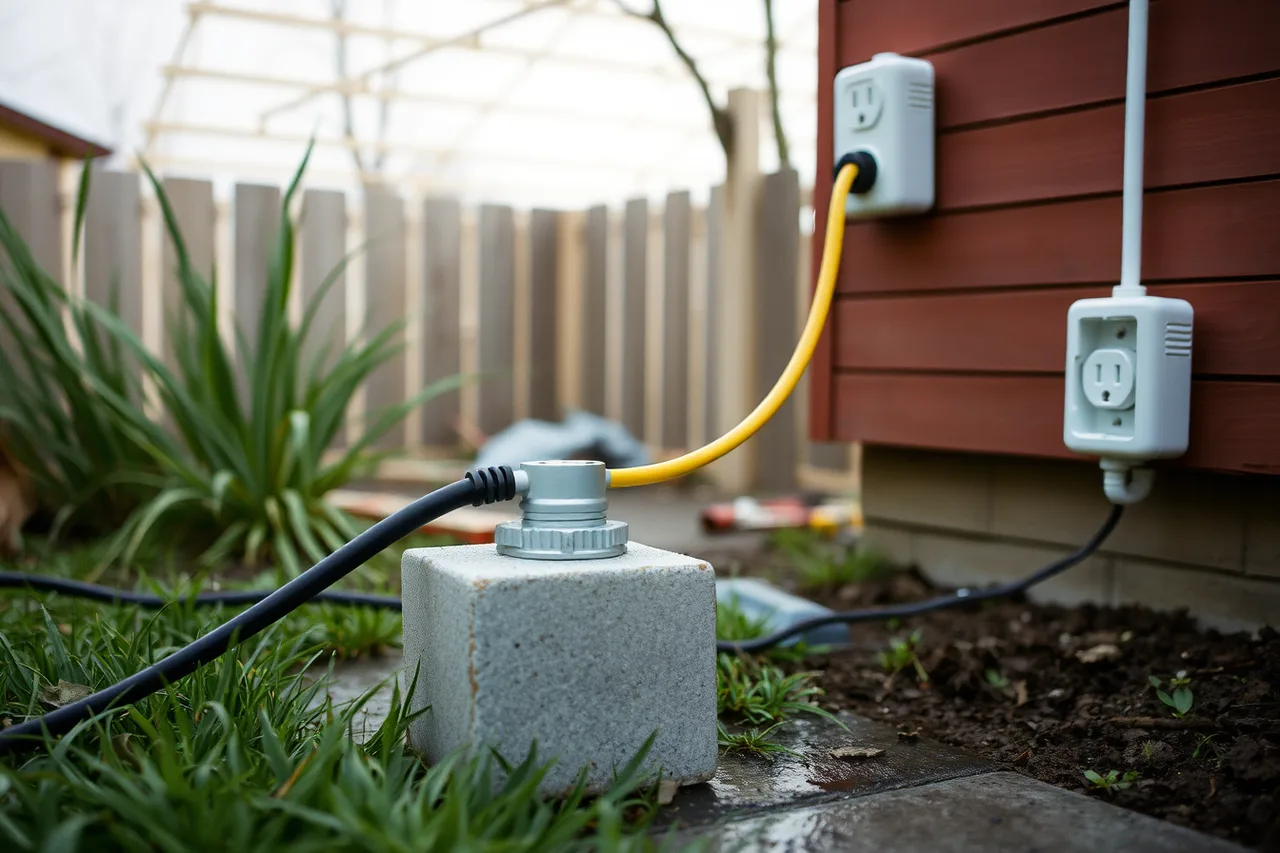
OSHA's construction electrical rules sit in 29 CFR 1926 Subpart K, and 1926.416 covers protection against contact with energized parts and damaged equipment. At home: inspect cords, keep connections dry and off the ground, and use protected outlets.
Keep a stocked first aid kit on site and know where the nearest emergency care is; for anything serious, that means calling 911. OSHA's medical and first aid rule, 29 CFR 1926.50, treats availability of first aid as a basic requirement rather than an optional courtesy, and a backyard is no different from any other site in that respect.
At the foundation gate
- Setting out checked against the survey and the property line, not the fence.
- Depth, bearing and any reinforcement matching the drawings, with the footing bearing below the frost line for your area.
- Anchor bolt or hold-down layout marked from the plans before the pour, so the sill plate lands on it.
- Capillary break in place, and top of foundation high enough above grade.
- Service routes and sleeves in position before any pour.
- Footing or foundation inspection passed and recorded before backfilling.
At the framing gate
| Check | Why |
|---|---|
| Openings match the ordered windows and doors | Reordering is the longest delay available |
| Blocking installed for shelves, monitors, equipment | Impossible to add cleanly later |
| Conduit run for anything future | Cheap now, disruptive later |
| Structural connections match the drawings | This is what the inspector is looking at |
| Everything photographed with a measure in frame | You will need this for twenty years |
At this gate, work to the plan sheets rather than to what is on hand:
- Anchor bolt and hold-down schedulebolts set to the spacing the plans show, with nuts and washers tightened before sheathing.
- Shear nailingthe nailing pattern the structural sheets call for, with the specified nails, in place before covering.
- Header and beam sizingspans taken from the IRC span tables in your approved plans.
- Vapor retarderthe class the plans name, on the correct side of the assembly.
At the rough services gate
- Feeder route, conductor size, disconnect and grounding as designed and permitted, worked out to the National Electrical Code (NFPA 70) edition your jurisdiction has adopted.
- Receptacle and lighting positions confirmed against the furniture layout, sized for a conditioned studio rather than a storage shed.
- Data route installed, plus any spare conduit.
- Heat pump penetration, bracket and condensate route in place.
- Rough electrical, rough plumbing and rough mechanical inspections passed before insulation goes anywhere near a wall.
Covering work early is the single most common reason an inspection fails, and the remedy is always to open it up again.
Keep the approved drawings on site and marked up as things change. An inspector asking why something differs from the drawing is a normal question, and a marked up set with dates answers it in seconds.
At the close up and completion gates
- Insulation full, uncompressed and gap free, checked by eye before covering.
- R-values taken from the energy code table for your climate zone, not from whatever is in stock.
- Air sealing complete at sill, top plate and every penetration.
- Exterior flashing verified to shed water outward, especially above the door, with the pan flashing at the threshold checked.
- Heating, cooling and ventilation tested in real conditions.
- Insulation or energy inspection passed before the walls are closed.
- Final inspection passed, path and lighting finished, yard restored.
- Manuals, warranties, product names and photographs filed together.
Run this alongside the build sequence so each gate lines up with the stage it belongs to, and use it to sanity check whichever of the construction methods you chose.