Reviews
Part of Studio sheds: what to check on a shell before you convert
Which studio shed upgrades add value you feel every day, in plain terms
Ranked upgrades for a shed studio, from air sealing and a real exterior door to shading and a heat pump, plus the ones that quietly waste your money.
What to take away
- Air sealing is the cheapest comfort upgrade available and the one most often skipped.
- A proper exterior door changes heat loss, sound and security more than an extra window ever will.
- Buy the heating and cooling equipment last, after the enclosure is decided, not first.
- Skip the upgrades you will not notice on a Tuesday in November.
The upgrades that pay back daily
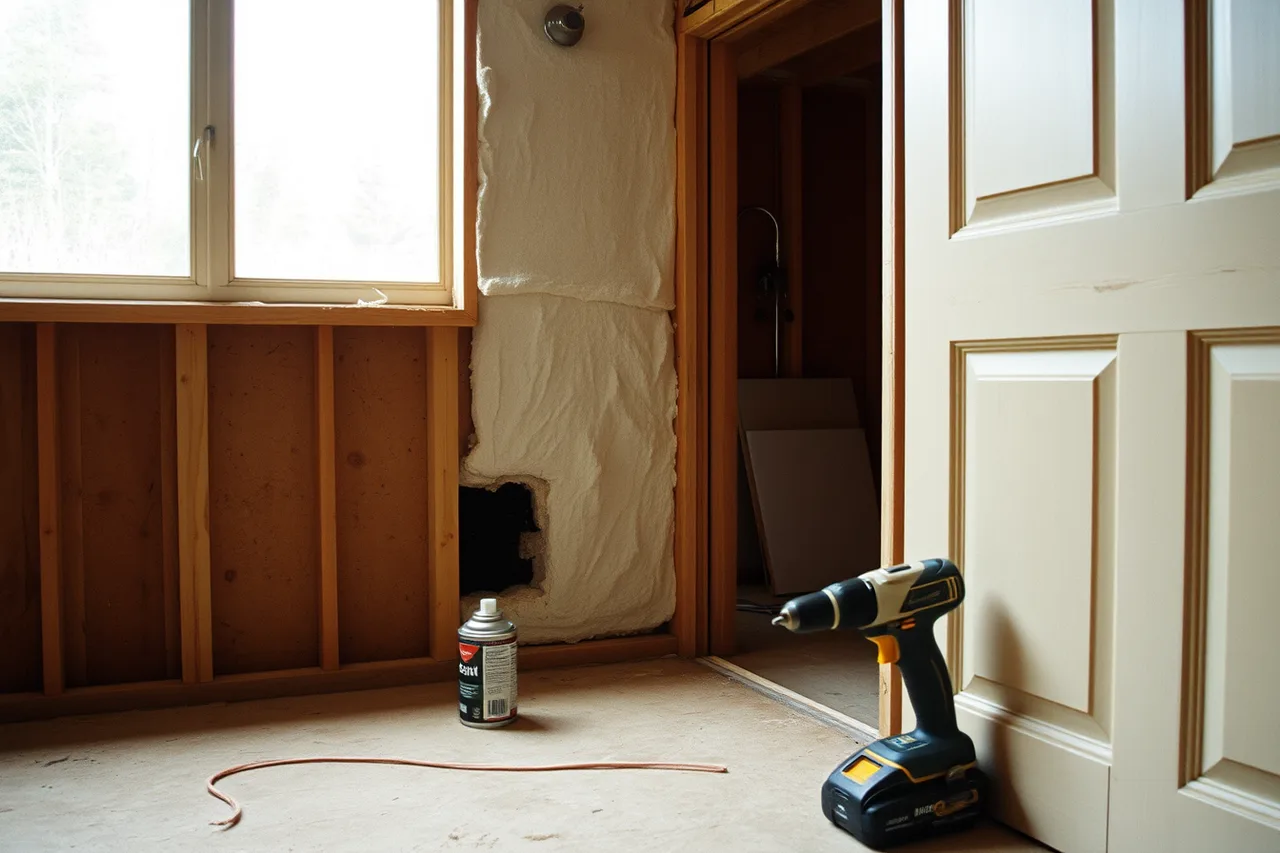
Air sealing. Sheds leak at the sill, the corners, the door frame and every penetration. Sealing those joints costs very little and changes both temperature stability and dust. It also has to come before insulation, because insulation does not stop air movement on its own.
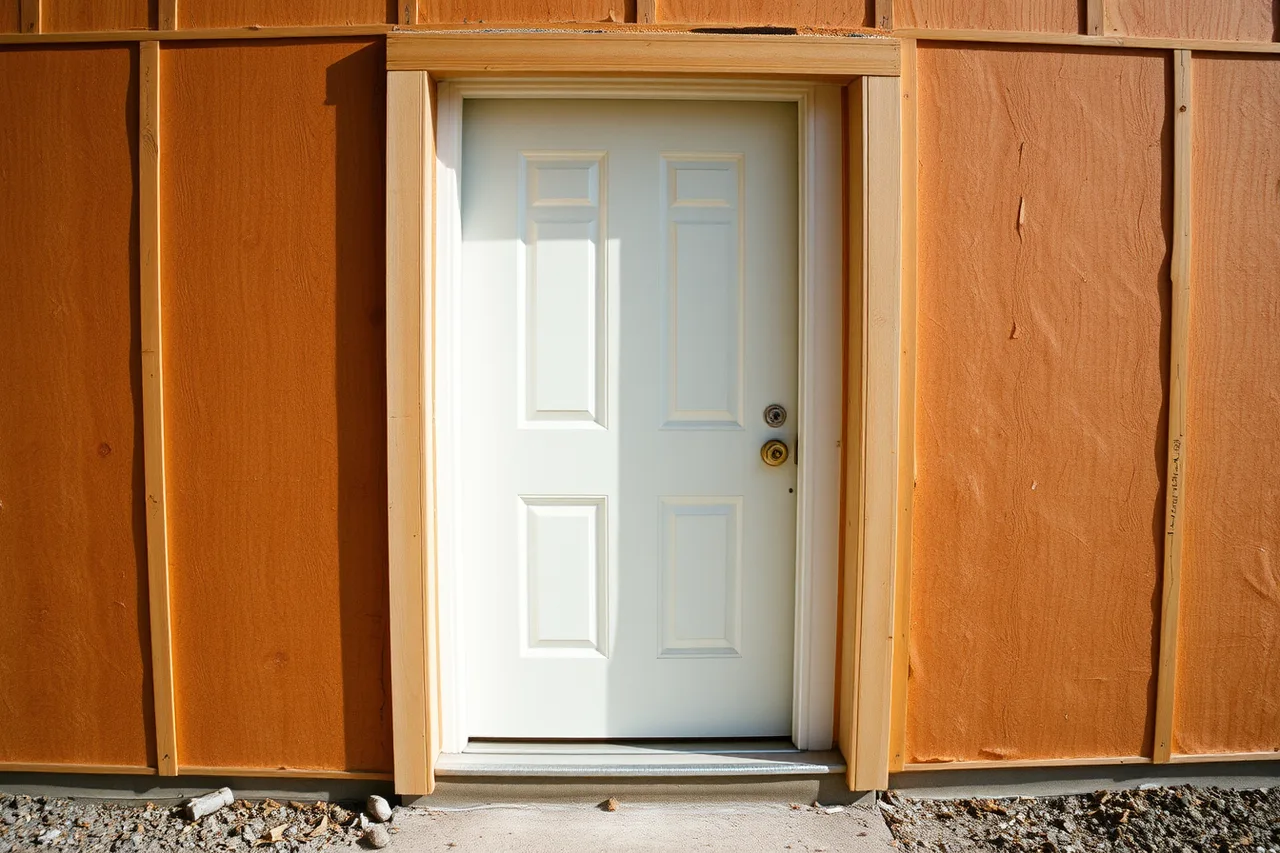
A real exterior door. Stock shed doors are thin, poorly weatherstripped and often not flashed. An insulated exterior door with a proper threshold and head flashing improves heat loss, sound, security and rain entry in one move.
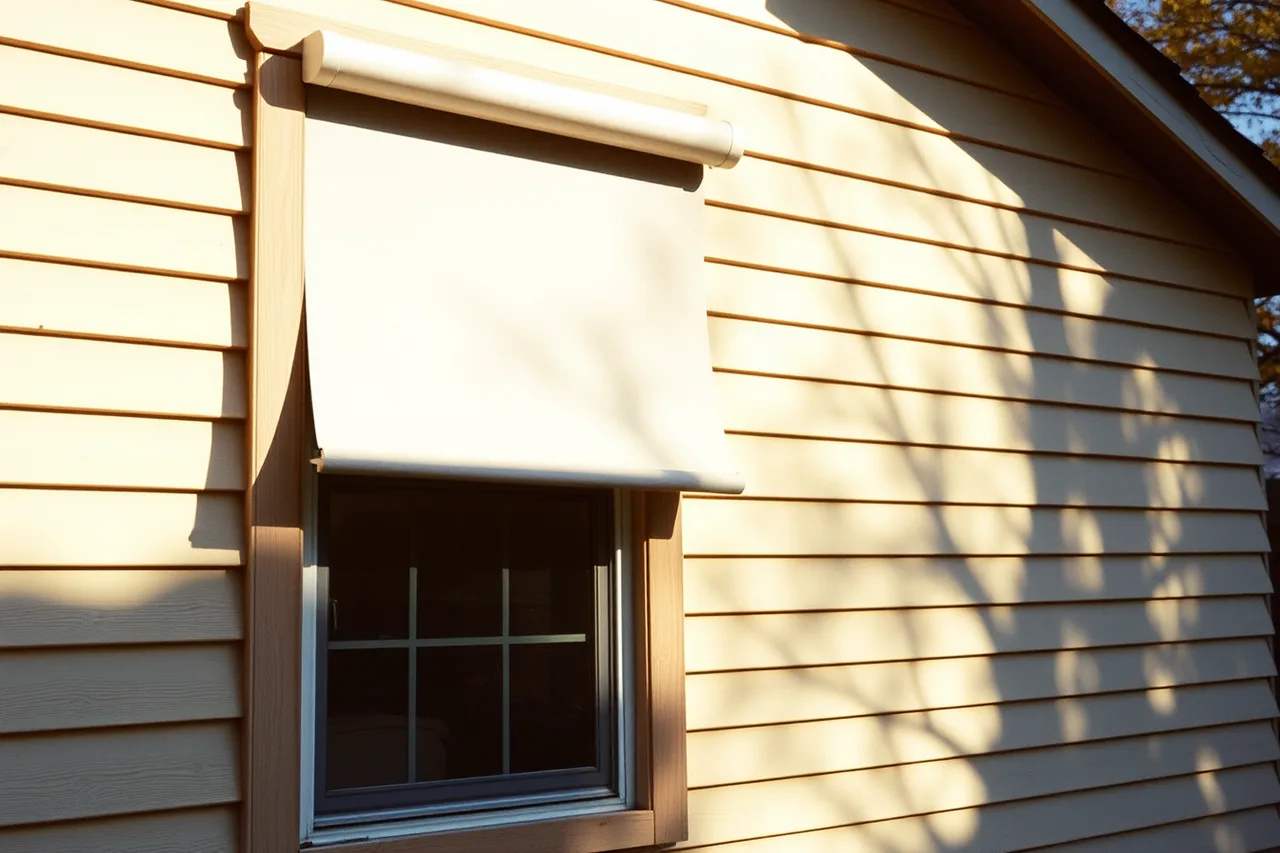
Roof insulation and shade. The roof takes the most sun and drives most of the summer overheating. Insulating it well and shading the sunny glass beats any amount of interior fan. An exterior shade is worth trialing on the worst window first before you buy a full set.
One dedicated circuit done properly. Extension cords across a lawn are a fire and shock risk, and they limit what you can plug in. A permitted feeder with its own disconnect at the studio is the upgrade that makes the room a workspace rather than a hobby corner, and getting it approved is the cheaper route, since unpermitted work costs more once it surfaces.
A mini split heat pump. Quiet, efficient, and it heats as well as cools. Size it for the finished enclosure. The Department of Energy runs the federal appliance and equipment standards program that sets minimum efficiency levels for equipment sold in the United States, which is why the floor for a new unit is now much higher than the one you may remember.
Worth it, in the right order
| Upgrade | Everyday effect | Best time to do it |
|---|---|---|
| Air sealing | Steadier temperature, less dust | Before insulation |
| Insulated door | Comfort, sound, security | With the shell |
| Roof insulation | Summer usability | Before interior finish |
| Dedicated circuit | What the room can actually do | With the foundation trench |
| Heat pump | Year round use | After the enclosure is set |
| Exterior shade | Cuts afternoon heat | Any time |
Handle the insulation work carefully
Insulating and sealing a small building carries real hazards. Fibrous insulation irritates skin and airways. Spray products carry chemical exposures. Crawl spaces under a shed floor are cramped and poorly ventilated.
OSHA's page on weather insulating and sealing work collects those hazards in one place. For a homeowner: wear the right protection, ventilate, read the product data sheet, and hire out anything sprayed.
Upgrades that usually disappoint
- Extra windows on the sunny side. They add heat and glare and take away wall you needed.
- Expensive interior cladding on an underinsulated shell. It hides the problem instead of fixing it.
- Oversized heating equipment. It short cycles, controls humidity poorly and costs more to run.
- Skylights without shading in a hot climate. They are the fastest route to an unusable afternoon.
- Decorative exterior trim with no overhang above it. It becomes a maintenance item within two seasons.
Sequence matters more than product choice
The same upgrade list gives different results by order: drainage and flashing first, then air sealing, then insulation. Next come services, then finish, then equipment.
The conversion sequence is worth following even when one upgrade tempts you early, and every item needs care later, so write the year one upkeep plan at the same time.